
Conical SmartShape® Healers
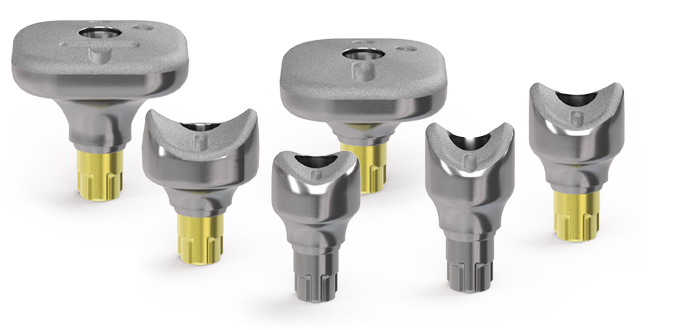
BioHorizons SmartShape® Healers 結合形態設計與數位流程,同時兼具組織塑形與數位整合。其多元輪廓設計,更貼近自然牙齒形態,有助於塑造更自然、美觀的組織效果。
SmartShape® Healers 可選擇使用口掃或傳統印模,將口內狀態精準轉移至電腦及模型。根據不同需求選擇合適支台齒,再依 SmartShape® Healers 型態進行專屬加工,可延續既有組織的塑形效果,讓假牙與牙齦輪廓自然銜接,實現自然和諧的美學效果。
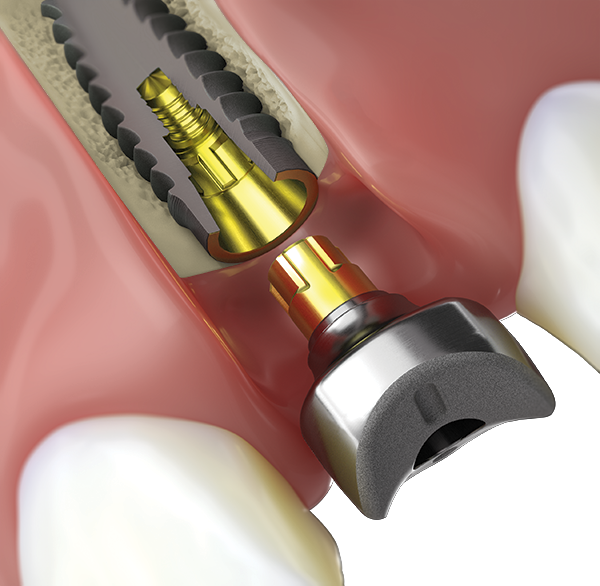
SmartShape® Healers
Shape tissue. Simplify the workflow.
Innovative|創新
特殊形態設計,採用可掃描結構製成,支援數位作業流程。
Esthetic|美學
依不同牙位提供專屬型態設計,優化牙齦組織輪廓。
Efficient|高效
簡化組件配置,縮短診療時間,提升流程效率。
Flexible|靈活
支援傳統與數位印模,精準掌握個別口腔條件與組織輪廓,讓假牙更貼近患者需求,實現專屬個人修復。
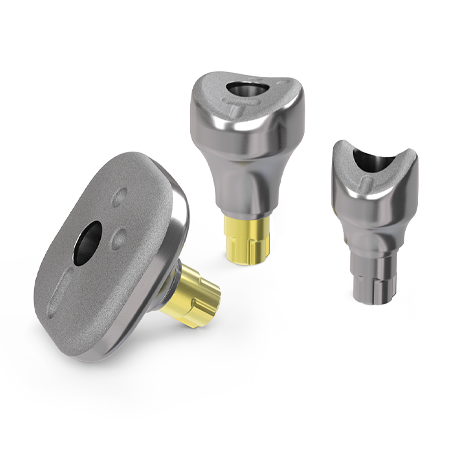
SmartShape Healer workflow
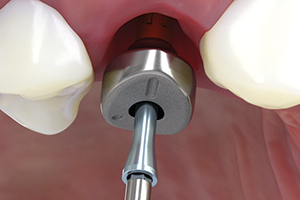
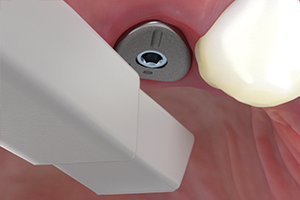
1. Place
Place SmartShape Healer. Leave 0.5mm of abutment above the tissue for impressing.
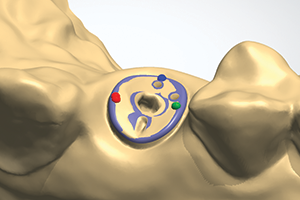
2. Impress
Take an impression of the abutment, using a digital scanner or traditional closed-tray workflow.
3. Design
Design custom final matching the SmartShape anatomical profile. Libraries and design files are available through VulcanDental.com.
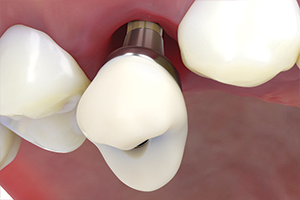
4. Deliver
Deliver the final restoration with an emergence that directly matches the soft tissue.

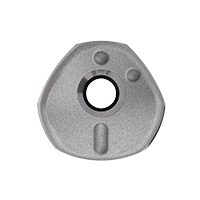
regular height SmartShape Healers
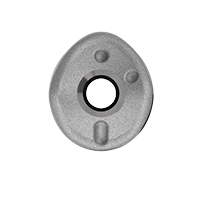
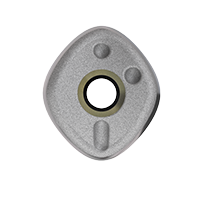
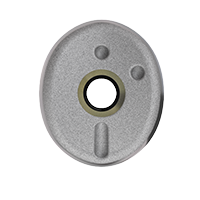
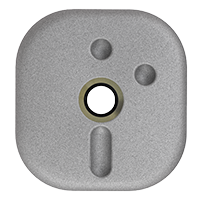
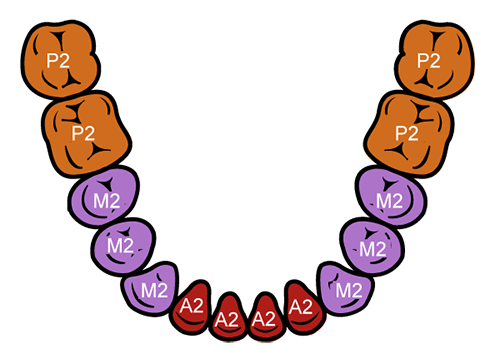
A1, A2, M1, M2, P1 and P2 configurations. Narrow and Regular platform options are shown below.
Narrow
A1
CNSSHA1
A2
CNSSHA2
M1
CNSSHM1
M2
CNSSHM2
P1
—
P2
—
Regular
A1
CRSSHA1
A2
CRSSHA2
M1
CRSSHM1
M2
CRSSHM2
P1
CRSSHP1
P2
CRSSHP2

tall height SmartShape Healers
A1, A2, M1, M2, P1 and P2 configurations. Narrow and Regular platform options are shown below.
Narrow
A1
CNSSHA1T
A2
CNSSHA2T
M1
CNSSHM1T
M2
CNSSHM2T
P1
—
P2
—
Regular
A1
CRSSHA1T
A2
CRSSHA2T
M1
CRSSHM1T
M2
CRSSHM2T
P1
CRSSHP1T
P2
CRSSHP2T
profiles
A1 – Anterior 1 A2 – Anterior 2 M1 – Mid 1 M2 – Mid 2 P1 – Posterior 1 P2 – Posterior 2 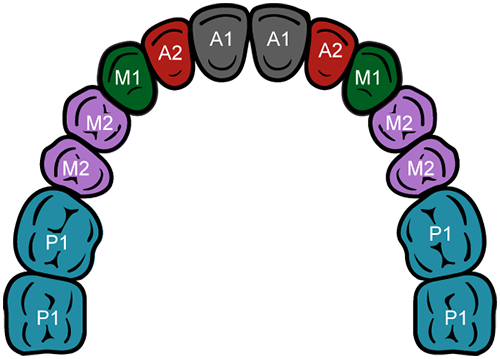
spec chart
platform diameter
narrow (gray) • regular (yellow)
gingival height
regular • tall
emergence
Anterior 1 • Anterior 2 • Mid 1 • Mid 2 • Posterior 1 • Posterior 2
material
titanium alloy
產品目錄